Table of Contents
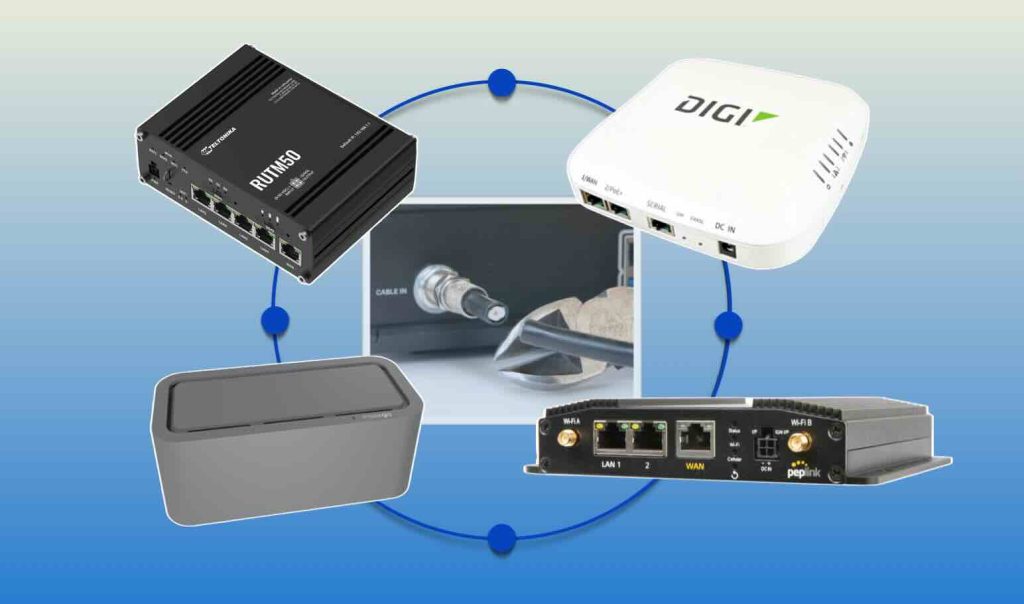
Over two years ago, I fully transitioned from traditional cable Internet to a robust cellular 5G solution powered by Verizon and provided through 5Gstore.com. I’ve since tested multiple routers (Peplink MAX BR1 Pro 5G, Digi EX50, Inseego FX2000e, and Teltonika RUTM50) to determine which works best for real-world home and work usage. During this time, I’ve gathered several data points, tested many different configurations, and burned through several terabytes of data. Believe me when I tell you, Cellular 5G Internet is indeed an adequate replacement for Cable Internet. Let’s take a look at all the reasons why you might want to consider switching yourself!
Why I Made the Switch to 5G Internet
For over a decade, I relied on Comcast/Xfinity for both TV and Internet. But as streaming replaced cable TV and broadband prices continued to climb, the value of a bundled service diminished. In contrast, my employer, 5Gstore.com, offered an unlimited Verizon 5G plan that supports C‑Band (n77) frequencies. This type of network connection can consistently deliver 120–170 Mbps down and 10–17 Mbps up.
After a month of side-by-side testing with cable, I found that 5G offered comparable performance for my needs: streaming 4K video, VoIP meetings, and large uploads. Real-world speeds and stable playback proved more than sufficient, even for work use.
Getting Better Performance With an Outdoor Antenna
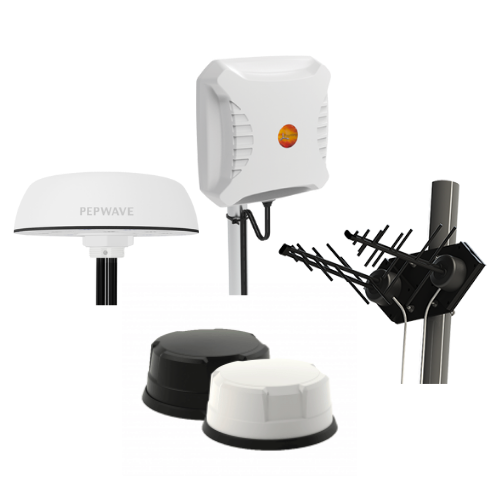
An indoor signal can only do so much. Installing a directional outdoor antenna boosted my signal quality significantly. It allowed me to point toward the most optimal cell tower and reduce interference, improving both download speeds and consistency. Once installed, I saw regular downloads of 130–160 Mbps, uploads of 13–17 Mbps, and ping times around 30–40 ms, which is very competitive with cable.
This setup, paired with high-gain external antennas, proved essential to a smooth, cable-grade experience that still relied entirely on wireless cellular reception.
Real‑World Router Testing: Which Model Fared Best?
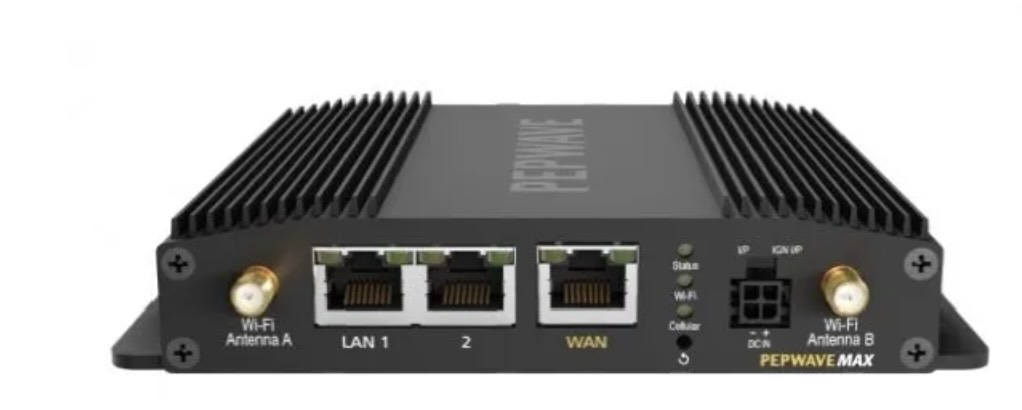
Peplink MAX BR1 Pro 5G
This is a versatile router solution that fits into any environment. In my experience, the ease of setup and ability to continue using my cable connection during my initial switch to 5G Internet was very helpful. Aside from updating the administrator and WiFi passwords, I had to manually enter the Access Point Name (APN) for Verizon 5G service before I could access the web admin interface and establish a connection to the cellular network.
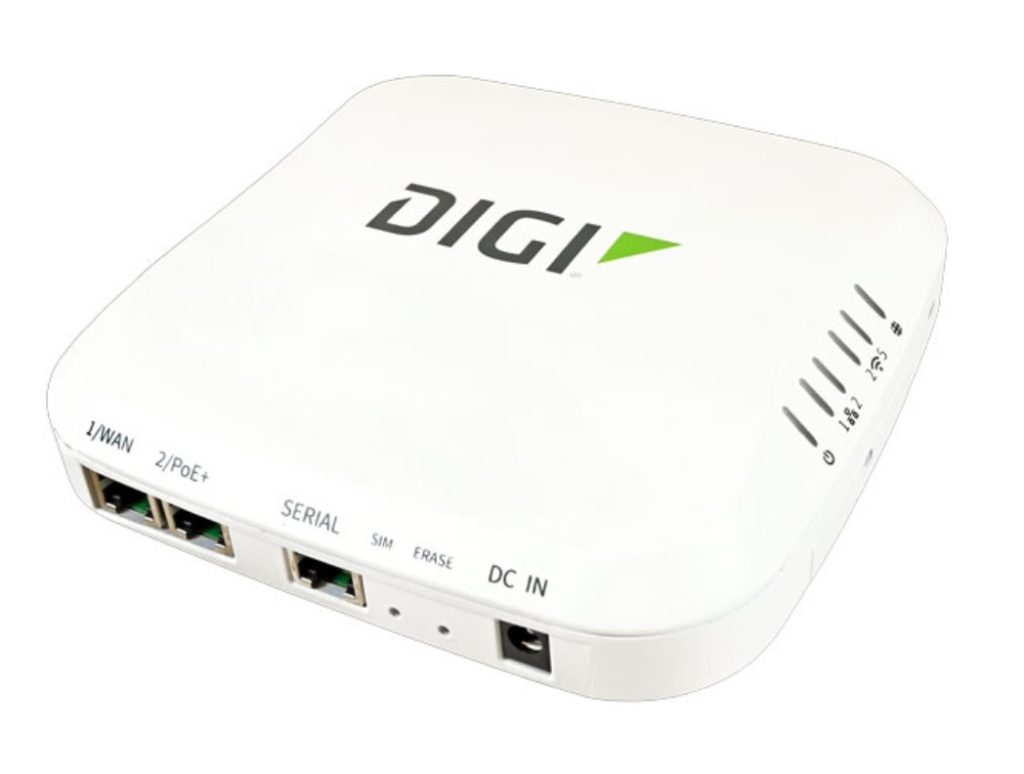
Digi EX50
Bandwidth performance was solid, but I encountered a surprising quirk: devices such as my VoIP desk phone wouldn’t register until I changed the default time server and rebooted the router. Once corrected, all devices connected smoothly, but this is a reminder that not all routers are “plug‑and‑play” when it comes to corporate LAN needs.
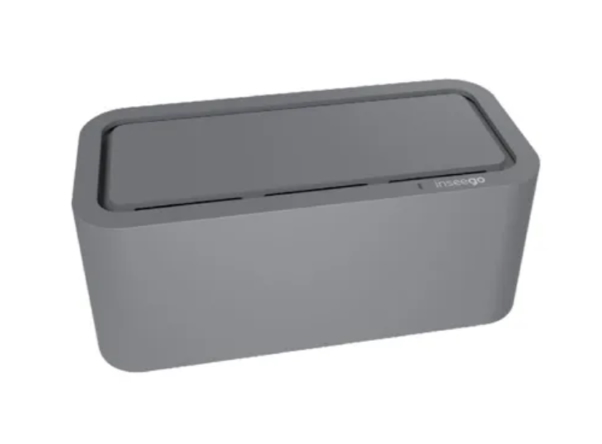
Inseego FX2000e
This unit was seamless to set up. Everything connected immediately, and it required no special configuration. However, when external antennas are attached, the router limits the number of available 5G bands. Restricted network support may impact signal performance depending on your location and antenna configuration. This limitation is detailed in a dedicated guide on enhancing Inseego performance.
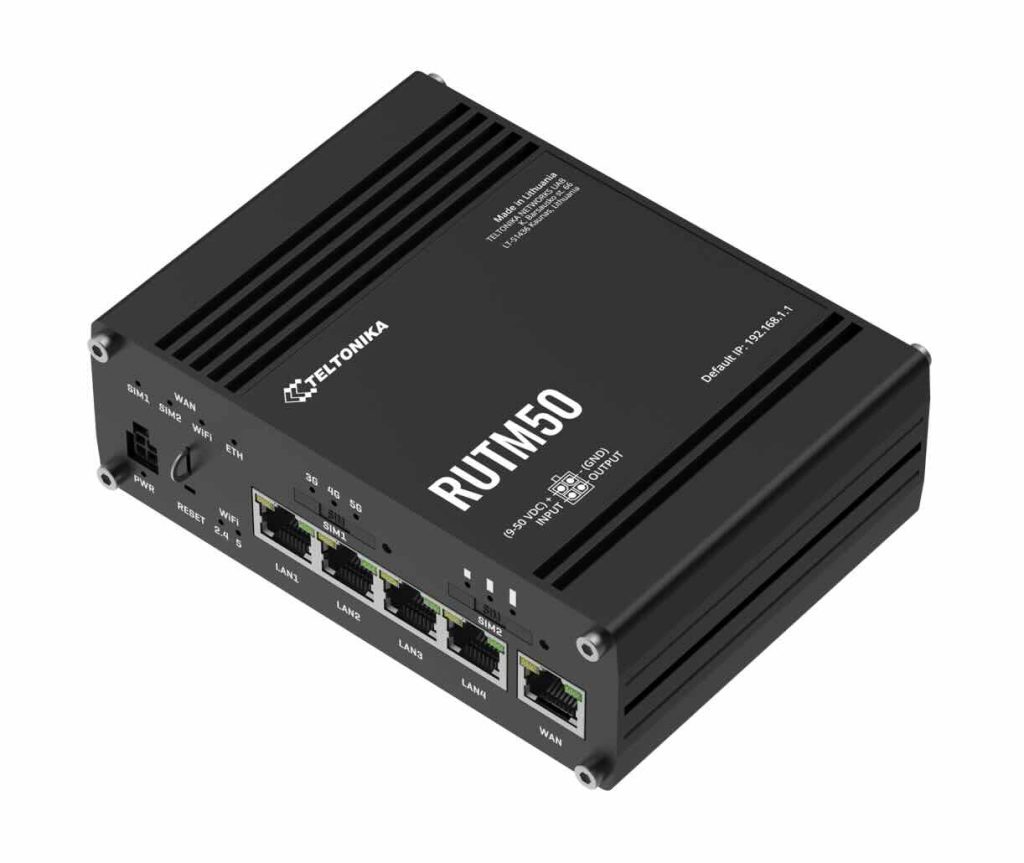
Teltonika RUTM50
My current favorite. Plug-and-play setup, stable connection for over two weeks, and consistent bandwidth performance. It has delivered zero downtime and steady throughput, making it perfect for full-time cellular home or work use.
Why Antenna Connector Type Matters
- Digi EX50 and Teltonika RUTM50 use SMA connectors: screw-on and robust, ideal for outdoor or high‑weight antennas.
- Inseego FX2000e uses TS9 connectors: quick snap-on, but less durable under weight or movement.
I prefer SMA connectors. The screw-on design resists loosening over time, and it handles stress and movement without losing connectivity. TS9 is convenient—but I would worry about reliability in a long-term setup.
For more insight about connector types, check out our connector reference guide.
Insights On How to Switch to 5G Internet
From my research, it seems that the following reasons are why many are now choosing to cut the cable and switch to 5G Internet:
- Lower cost, easier installation, no contracts: Many users report savings of up to 50% compared to traditional broadband plans, with no hidden fees or long-term commitments.
- Effective in underserved and rural areas: For users without access to fiber or cable, 5G home Internet offers a meaningful upgrade from slow DSL or satellite.
- Reliability during outages: Fixed-wireless service can continue working when wired internet fails. Cell towers aren’t generally affected by storms or power outages like wired services.
- Industry pressure driving pricing down: Cable providers have responded with multi-year price-lock offers to compete with carriers, lowering overall costs for consumers.
Still, downsides exist – limited coverage in certain areas, possible service fluctuations during network congestion, and dependency on antenna placement (especially with mid-band signals).
Practical Tips for Transitioning to Cellular Internet
- Verify coverage first: Confirm if your home gets strong mid-band (C-Band) or higher-tier 5G coverage.
- Invest in a quality router: Choose models known for stable LAN performance, easy antenna connections, and minimal configuration.
- Consider antenna upgrades: High-gain outdoor directional or omnidirectional antennas can vastly improve speed and uptime.
- Test before canceling cable: Try the cellular setup alongside your wired connection for a month. This provides a side-by-side comparison under your usual usage patterns.
- Watch out for quirks: Some routers may require configuration tweaks (like adjusting SNTP servers or LAN DHCP settings) depending on your devices.
- Understand connector types: If you plan on permanent antenna setups, favor routers with SMA over TS9 connectors for durability and reliability.
Comparison: Cable/ Fiber vs. 5G Home Internet
| FEATURE | CABLE/ FIBER INTERNET | 5G INTERNET (FIXED WIRELESS) |
| Installation | Requires technician, infrastructure | Plug-and-play; self-install often |
| Monthly Cost | Often higher; includes hardware fees | Lower; no equipment rental; no contracts |
| Download/Upload Speeds | Typically up to 400 Mbps+ | 120–170 Mbps down / 10–17 Mbps up |
| Latency | Very low (~10–20 ms) | 30–40 ms typical; higher during handovers |
| Reliability | Disruptions possible due to cable damage | More resilient to local outages |
| Device Compatibility | Universal | Some router quirks may require setup |
| Flexibility | Fixed location | Portable; ideal for non-permanent installations |
Step-by-Step Checklist: How to Switch to 5G Internet
1. Check Coverage at Your Location
- Visit a coverage map (e.g., Verizon, AT&T, T-Mobile) to verify strong 5G signal, ideally including C-Band or mid-band service.
- Use an address verification checker to confirm address eligibility for some 5G Fixed Wireless Access (FWA) plans.
2. Select Your 5G Router or Modem
- Choose a 5G router that supports your carrier.
- Look for models with:
- External antenna ports (SMA preferred)
- Failover or load balancing (optional, but helpful)
- Ethernet LAN ports for wired devices
- Confirm SIM card size/type (usually nano SIM / 4FF) and carrier compatibility.
Popular options:
- Inseego FX2000e
- Teltonika RUTM50
- Peplink MAX BR1 Pro 5G
- Digi EX50
3. Pick a Data Plan
- Choose an unlimited data plan or one that fits your average monthly usage.
- Make sure the plan is designed for Fixed Wireless Access (FWA) or home use with no overages or throttling.
- Decide if you want a static IP address (useful for VPN or remote access) or prefer dynamic IP (for streaming local content).
4. Install the SIM Card
- Power off your router before installing the SIM.
- Insert the SIM securely into the correct slot (check the manual for SIM1 vs. SIM2 if dual SIM is supported).
- Power on the device and wait for it to initialize and register on the network.
5. Test Initial Connectivity
- Connect your computer via Ethernet or Wi-Fi.
- Log in to the router’s admin interface to confirm:
- Signal strength (RSRP, RSRQ, SINR)
- 4G/5G band connection
- SIM status
- Run a speed test to verify connection.
6. Optimize Antenna Setup
- Start with built-in antennas (if included), then:
- Upgrade to outdoor antennas for better signal
- Use directional antennas to aim at the strongest tower
- Mount antennas as high and unobstructed as possible
- Use a signal monitoring tool (or router dashboard) while adjusting antenna direction.
7. Test Your Devices
- Confirm that all LAN/Wi-Fi devices can access the Internet.
- Test VoIP phones, smart TVs, work VPN, and streaming services.
- Adjust time server settings or firewall rules if any devices fail to connect.
8. Monitor Performance for 1–2 Weeks
- Track data usage across your devices.
- Monitor latency, jitter, and bandwidth.
- Watch for peak-hour slowdowns or performance drops.
9. Cancel Your Cable Service (Optional)
- Once you’re confident with your cellular setup, cancel your wired plan.
- Return any rented hardware (modem, TV boxes, etc.).
- Consider keeping your cable modem around temporarily for backup, if needed.

