Similar to other router manufacturers, Sierra Wireless provides a cloud management solution called AirLink Management Service, or ALMS for short. Configure, monitor, and track all your devices in one location. Before you can begin utilizing ALMS for your device, there’s a few steps you need to take, regardless of whether you have an existing account or not. Of course, if you’re a new Sierra Wireless user, you may not know the process of setting up a new ALMS account and registering your device(s). In an effort to make this easier for customers, we’re going to review the process in this blog.
How Do I Create a New ALMS Account?
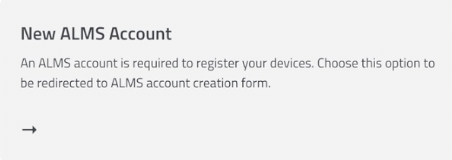
Start by going to https://www.sierrawireless.com/complete/register/ and select New ALMS Account.
You’ll then be prompted to select your Location.

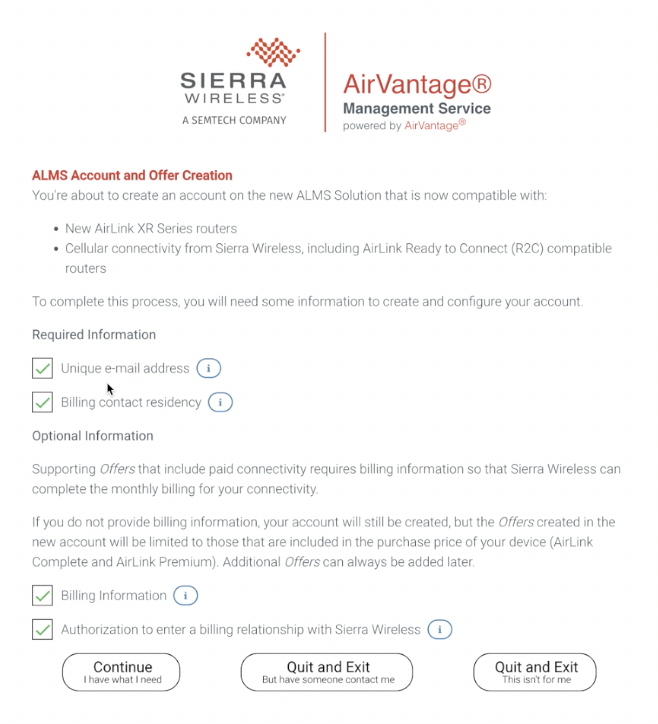
Review the details on what’s required to create an account. Click Continue at the bottom when you’re ready, then click Sign Up at the following page.
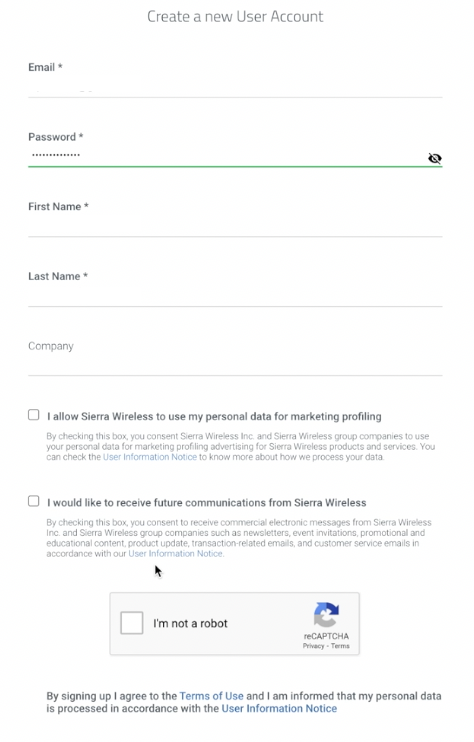
The next page will be a form you’ll need to fill out to create your user account. Enter your email address, a unique password, your first and last name, and company, if applicable. Lastly, check the boxes if you would like to allow Sierra Wireless to use your personal data for marketing profiling, and if you’d like to receive future communications from Sierra Wireless.
Note that by signing up, you agree to the Terms of Use so be sure to read this before proceeding. You also agree that you are informed that your personal data is processed in accordance with the User Information Notice. You may also review this before proceeding.
Click Sign Up when you’re ready.
Shortly after you sign up here, you will receive an email confirmation. Click the “Sign Up Account” button in this email to continue the account setup. Note that the link will expire in 24 hours.
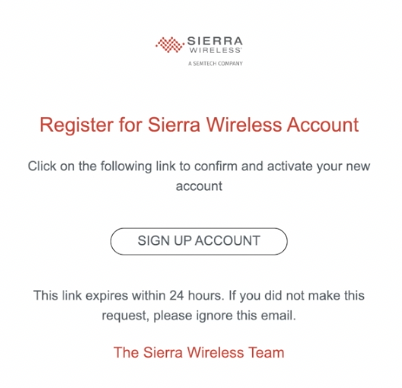
This should take you to a Sierra Wireless page confirming that an account has been created. You will now be redirected to the ALMS login page where you will enter the email address and password you entered earlier. The next screen will have you confirm your signup request. Fill in the required information and then click the “Confirm Sign Up” button at the bottom of the page.
At this time, should you be interested in connectivity, you’ll be prompted to add your billing information. Click “Finish” next and the page should show that it is “Finishing Up.” After a moment, you should be logged into your ALMS account and be taken to the Dashboard page.
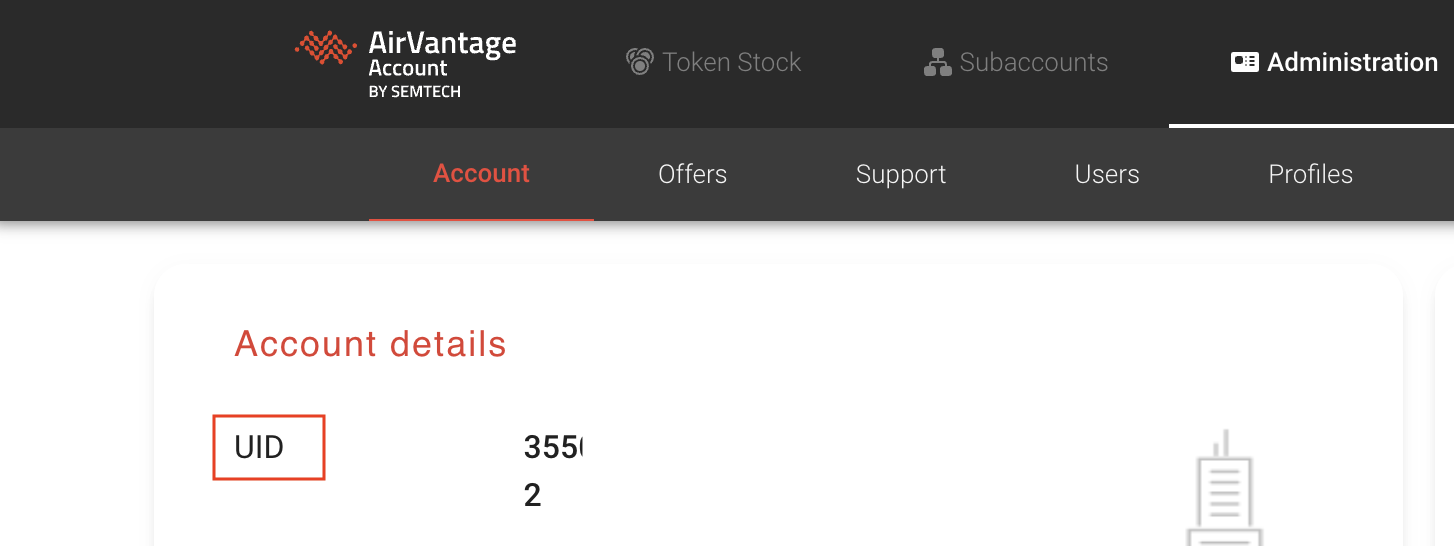
Where is My Account UID?
Now that you’re logged into your newly created account, you’ll need to access the unique identifier (UID) assigned to it from Sierra Wireless. Click on the three horizontal lines at the top right and select “My Account.” On the next page, click “Administration” at the top. Provide this text string to your Sierra partner and they’ll complete the account setup process.
What Do I Need to Register My Sierra Wireless Device in ALMS?
At this point, you just need to register your hardware. Go to the “register” tab and fill in the required information, which you can obtain from the bottom label of your device.
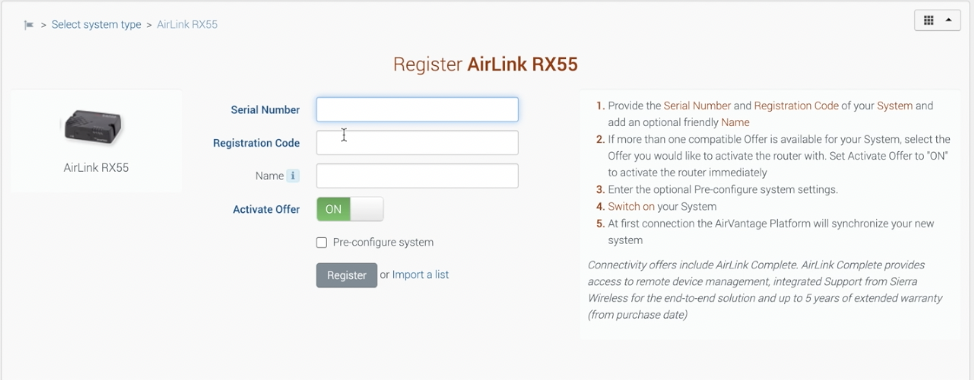
ALMS supports both current generation and legacy AirLink gateways and routers. For current generation hardware you will need the device’s serial number (for ES, GX, LS) or serial number and IMEI (in the case of the ES450, GX450, MP70, RV50/RV50X, RV55, LX60 and LX40). For XR Series routers and other devices running AirLink OS, you will need the device’s serial number and registration code. This information is printed and bar coded on the device label. ALEOS devices (ES, GX, LS, RV, MP and LX) also display this information in ACEmanager.
For legacy devices (Raven, PinPoint and MP with ALEOS 4.0.8 firmware or newer) you will need the ESN or IMEI. They are printed and bar coded on the bottom label and displayed in ACEmanager.
For more information about how to configure your gateway to use ALMS, please refer to the dedicated Gateway configuration page.
Also check out our video instructions below.
Need more assistance? Contact the 5Gstore team Monday through Friday.

